

Map the route before you mop
Set up a robot vacuum and mop for rugs and hard floors. Map the rooms, test the rug edge and keep wet pads on the right floor.
Key Takeaways
- Make a map and run a dry test before you mop. Watch how the robot crosses each rug edge.
- Use a no-mop zone or a separate dry run for rugs that the wet pads can touch.
- Keep a clear path between the hard floor and the dock. Check both the route in and the route out.
- Run one small wet test before you set a schedule. Save the settings that keep each rug dry.
Set up a robot vacuum and mop in two passes. In the first pass, map the room and run the robot dry. In the second, test the mop on a small patch of hard floor. Check that the path leaves your rugs dry. Then save the room modes and build a schedule around the routes you tested.
The challenge is often at the edge of a room. Your robot may know that a rug is there. It still needs enough space to cross or go around it. A raised wet pad might clear a flat rug but brush a thick one. Try the short setup below on the floor you have before you leave the robot to clean on its own.
Walk the Route Before the Robot Does
Start at the dock and walk to the rooms you want to clean. Note rugs, door sills, power cords and loose mats. Stand where the robot will turn and look for things its wheels could catch. Check the floor under chairs, too. A cable that stays out of the way when you walk can sit at brush height for the robot.
Pick up light items and move floor cords from the route. Leave the pieces of furniture that normally stay there. You want the map to match a normal day in the room. Keep people and pets clear for the first run. If you move a chair for mapping and put it back later, check that the robot can still turn where you expect.
Read the dock setup part of your model’s manual. Look for the amount of free floor it needs in front and on each side. Place it on the type of floor the manual calls for, with a path to the rooms you want it to reach. If that path crosses a rug, work out whether a damp pad can stay clear of the rug on the return leg.
Make a note for each rug
Measure the part the robot has to cross. You can use a ruler at a high edge to get a rough height. Note any fringe or loose corner separately. A thin rug that folds can cause more trouble than its height suggests. If the rug is valuable or needs dry care, choose a route that keeps the wet pad away from it.
Think about the role of each rug. A small mat may be easy to pick up before a wet run. A large rug might need a permanent zone on the map. A runner through a hallway can block the only route to the next room. Choose an approach for each one instead of asking the whole house to use the same mode.
Check the care guide for the hard floor as well. Use water and any cleaner in the way both the robot maker and floor maker allow. A wet mop might suit tile near the door and be a poor fit for a floor with a different finish. Decide what you will test before you fill the tank. Small tests are easier to undo or change.
Make a Map for the Robot Vacuum and Mop
Connect the robot to its app by following the model guide. Set the dock where it will stay, then start the app’s map setup. Open the doors to the rooms you want on that map. Close doors to areas the robot should skip. Use a dry map run if your model offers one. Do not add water to a tank until you are ready to test mopping.
Watch the first trip to the rug and back. Look for a wheel that spins, an edge that folds or a fringe that moves toward the brush. If you see a snag, pause the robot with its controls and follow the manual for clearing it. Then decide whether to move the rug, leave it out of the route or give the robot a different way around it.
When the map is ready, find the same features on your phone and on the floor. Start with the dock and doorways. Name the rooms so you will know which mode belongs where. Mark large rugs or add zones using the controls your model offers. If the app lets you split a room, do it where a real edge on the floor makes the change easy to see.
Save a base map before you add lots of zones
Make a note of the date and the rooms that are on the map. Save or back it up if your app provides a way. If the model does not have a map save control, take a private screen capture of the settings you use. Keep it with the guide for the robot. This can help you put the room names and rug zones back after a change.
Check the route in both directions before you finish. Your robot may reach the far end of a rug by a straight path but turn on the fringe as it leaves. Try the path back to the dock as well. If you plan to use the robot on more than one floor, look up how your model chooses and saves maps. Test each floor on its own.
Pick a Rug Setting the Robot Can Follow
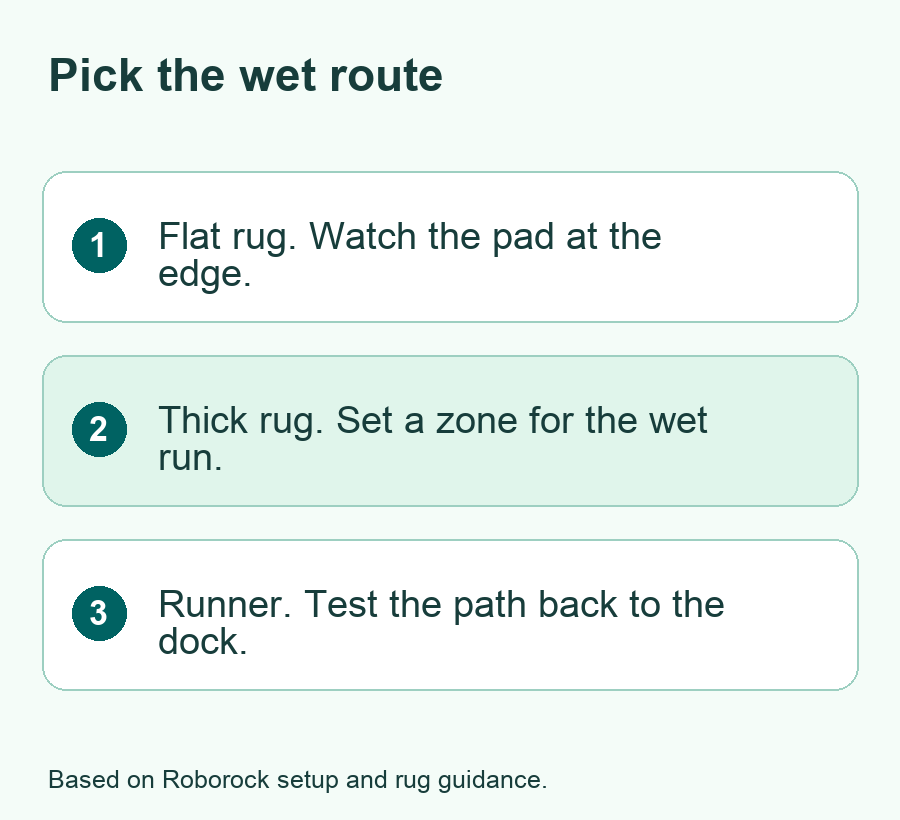
First, check how the model handles rugs during a wet run. Some models lift their pads. Some skip the rug if they detect it. Other models need a zone or a separate dry run. Use the behavior the guide names for your model. A label in an ad may cover a range that includes several different methods.
| Rug or room situation | A setup to try | What to check |
|---|---|---|
| Tight, flat rug on an open floor | The model’s lift mode if supported | Watch both pad edges while the robot crosses |
| Thick rug or one with a long fringe | Skip during the wet run | Check the edge stays clear when the robot turns |
| Rug blocks the only route to the next room | Run rooms in separate passes | Check how the robot goes back to the dock |
| Small mat near a door | Move it or mark a zone for the wet pass | Check the open door and mat edge when it returns |
Roborock’s support page lists the Q Revo and several S models as examples that can raise the mop on carpet. The company also gives a more specific measurement for three Qrevo models. Its Qrevo Plus, Qrevo Pro and Qrevo MaxV comparison describes a 10 mm lift and says the pad lifts 7 mm. This is one maker’s detail on named models. Check your own manual for what its lift figure measures.
Here is an example of how to use the number. Imagine your ruler shows an 8 mm edge on a flat rug. You read that the pad lifts 7 mm on the exact model you own. The rough difference is 1 mm. That gives you a reason to skip the rug during a wet pass or test the edge in dry mode. It does not tell you what the wheels, pile or angle will do when the robot turns.
Know what a no-mop zone does on your model
Check whether a no-mop zone blocks a wet pass or keeps the robot out of that area during any pass. A no-go zone may stop the vacuum from reaching a rug that you still want to clean dry. Follow the app’s help for those labels. If your model can’t keep the modes apart with a zone, plan one dry run followed by a wet run in other areas.
Leave a bit of space around rug edges when you draw the zone. Try a small test and change the zone based on where the robot actually turns. There is no single size that fits every rug and map. A wide gap can leave a strip of floor untouched. A narrow gap can let a pad brush the rug. Change one edge at a time so you know which edit helps.
Run a Dry Test and a Small Wet Test
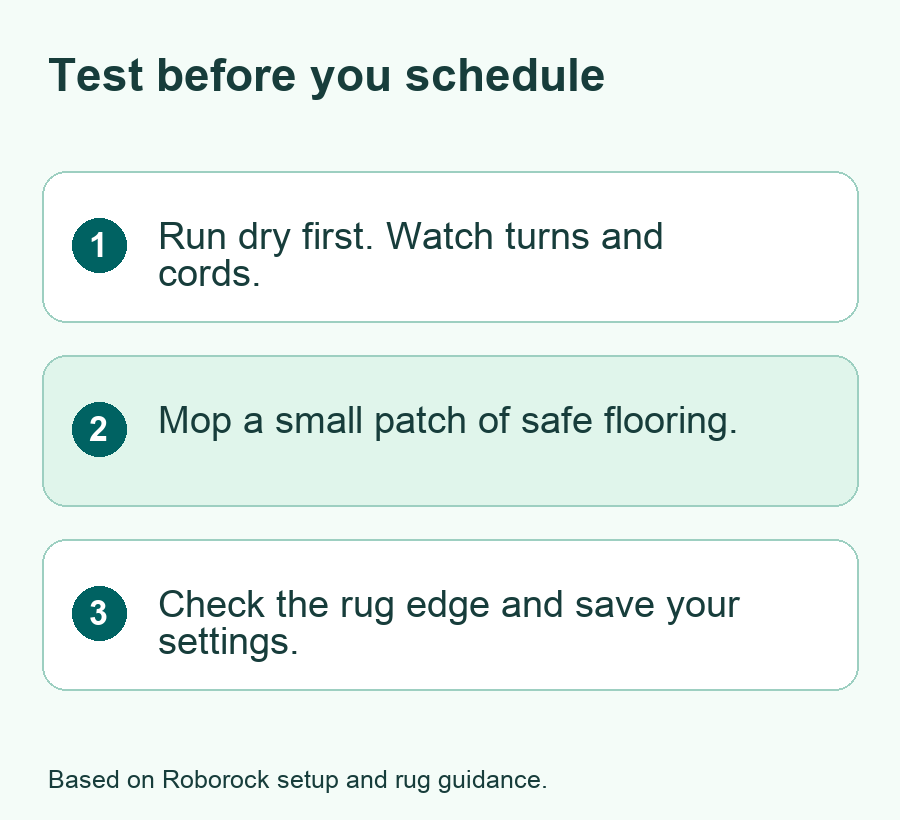
Use a small part of the house for your first test. Pick one hard floor area and one rug edge you can see from the same spot. Keep the robot in view. Test the route in dry mode and note whether the wheels clear the edges and sills. If it stops or folds the rug, fix the dry route before you add water.
When the dry route works, fill the tank as the manual directs. Use the type and amount of liquid the maker allows. Set a low water level if the model and floor support it. Run the mop on a small patch you can inspect. Check the pad as it turns near the rug. Pause if the rug touches a wet pad or the flooring stays too wet for its care guide.
- Check that the wet test uses the settings for the right room.
- Watch a turn by the rug, a trip across the floor and the route back.
- Inspect the rug edge and the hard floor when the robot stops.
- Adjust one zone, room mode or water setting if you see a problem.
- Repeat the short test, then save the settings that worked.
You can check for water on an edge with a clean, dry cloth if that suits the rug’s care rules. Dab a small area where you think the pad might have brushed it. Check the strip by the rug as well. If part of the strip stays dry because the zone is wide, decide whether to keep that small area for hand cleaning.
Look at what happens after the run. Some docks rinse pads or need you to empty a tank. Use the maker’s steps to clean and dry parts that get wet. Check that the pads are ready for the next run. Caught hair, a folded cloth or grit on a wheel can make a good route behave a new way the next day.
Build a Schedule That Matches Your Rooms
Set a simple schedule after the small tests. You could run vacuum only in the living room and hall. Then set a wet run for the kitchen on a day when the runner is out of the way. Use room order or separate jobs if the app offers them. Give each job a name that tells you what it does before you hit Start.
Choose a time when doors will be open or shut as your map expects. Keep the dock powered and the route to it clear. Look at the map after the first scheduled runs. Check that the jobs finished and that the rug stayed dry. If there is a new mat or someone moves the dock, test the change before the next full wet run.
For a quick review, compare one run with the dry route you saved. Mark any place the robot now passes twice, skips or approaches from a different side. If you find a change, start with the route and floor conditions. A new chair at the rug edge may explain more than an app setting. Check the simple causes before you redraw the whole map.
Fix the Problem You Can See
If a rug gets damp, look first at the exact spot. An edge that is wet only at one corner can point to the turn. A wet line across the rug suggests the robot used it as a path. Test that area dry and watch what happens. Give the robot more space or stop it from crossing the rug while the pads are wet.
If the robot skips a room, check that the approach is open and the map matches the door and dock. A rug zone may block the only path. If so, try a separate pass from a safe starting spot only as your manual allows. You can also change the room order or move a light mat. Save the layout that works during a normal day.
If the robot gets stuck, pause it and follow the maker’s steps to clear the brush or wheel. Look for fringe, cords or a small step. Keep those items out of the run path or mark the spot on the map. Run a dry test in that same room before you schedule a full clean again. Avoid making a second change until you see what the first change did.
If the robot reaches the dock but fails to line up, check the space beside and in front of it. Look for a mat, chair leg or cord that changes how it has to turn. Use the dock clearances in your model’s guide. Then start a short dry job from the same room and watch the dock approach. If it still fails, note the app error and the position where the robot stops before you call support.
Did You Know?
Roborock says its Qrevo S can cross a detected carpet without cleaning it in a mode that the earlier Qrevo lacks. The two names look close, but they can behave differently on the same rug. Check the full model name before you follow a tip or draw a zone based on someone else’s app screen.
Conclusion
A robot vacuum and mop works best when its route fits your floor. Map the rooms, run a dry test and choose a rug mode for each area. Watch a short wet pass and check the result before you set a schedule. Start with the rug next to the floor you mop most often. When that route works, add the next room.
FAQs
Can I leave a rug down when the robot mops?
You can leave it down if your model can keep its wet pads clear of it. Check the manual and watch a short wet test at the edge. If a pad touches the rug or the robot has to turn on it, use a zone or a separate run that keeps it dry.
What does a mop lift number tell me?
It tells you how far a part lifts under the maker’s stated conditions. Check whether the figure refers to the pad or the part that holds it. A tall rug, a curled edge and the angle of a turn can change the gap you see at home. Test before you rely on it.
Should I mop right after making the map?
Run a dry test first. Check turns, doorways and the path back to the dock. Then try a small wet pass on a surface that can take it. This makes it easier to fix one rug zone or room mode before the robot repeats the route throughout the house.
Can I keep the rug dry and still vacuum it?
Use a separate vacuum-only run if your model allows it. Some models can also change the way they clean a rug within one job. Read the model’s zones and carpet mode help to find the right option. Verify where the robot goes and whether the mop can touch the rug.
What should I do if I move the dock or add a new rug?
Check the map and run a dry test from the new spot. Follow your model’s guide for moving the dock or making a new map if needed. Update the rug zone using the new edge and test the return path. Wait to run a wet schedule until the dry path works again.
References
- Roborock Support — Q Revo user manual
- Roborock Support — Can a robot cleaner stop mopping carpet automatically?
- Roborock Support — Differences among Qrevo Plus, Qrevo Pro and Qrevo MaxV
- Roborock Support — Differences between Roborock Qrevo S and Qrevo
- Roborock Support — How to create multiple maps for a multi-level house
- Roborock — Qrevo Series
